To make the comment system work, we need a mechanism to authenticate GitHub users, in this project, we use GitHub Apps.
Create a GitHub App
Go to github.com/settings/apps/new to create a new app. Let’s focus on the essentials:
-
GitHub App name
Give your app a name, this might be the hardest part 🤡.
-
Homepage URL
You can fill it with the URL of your blog.
-
Callback URL
You can use mine if you want to: https://cwgi.jw1.dev/callback
If you want to use your own Callback URL, the next guide will show you how to configure a back-end to handle this callback.
-
Expire user authorization tokens
We don’t need to expire user tokens, so just uncheck this one.
-
Webhook
Also, we don’t need this, uncheck.
-
Permissions
We’ll only need the permission to read and write Issues, Metadata will automatically become read-only.
-
Where can this GitHub App be installed?
Choose Any account.
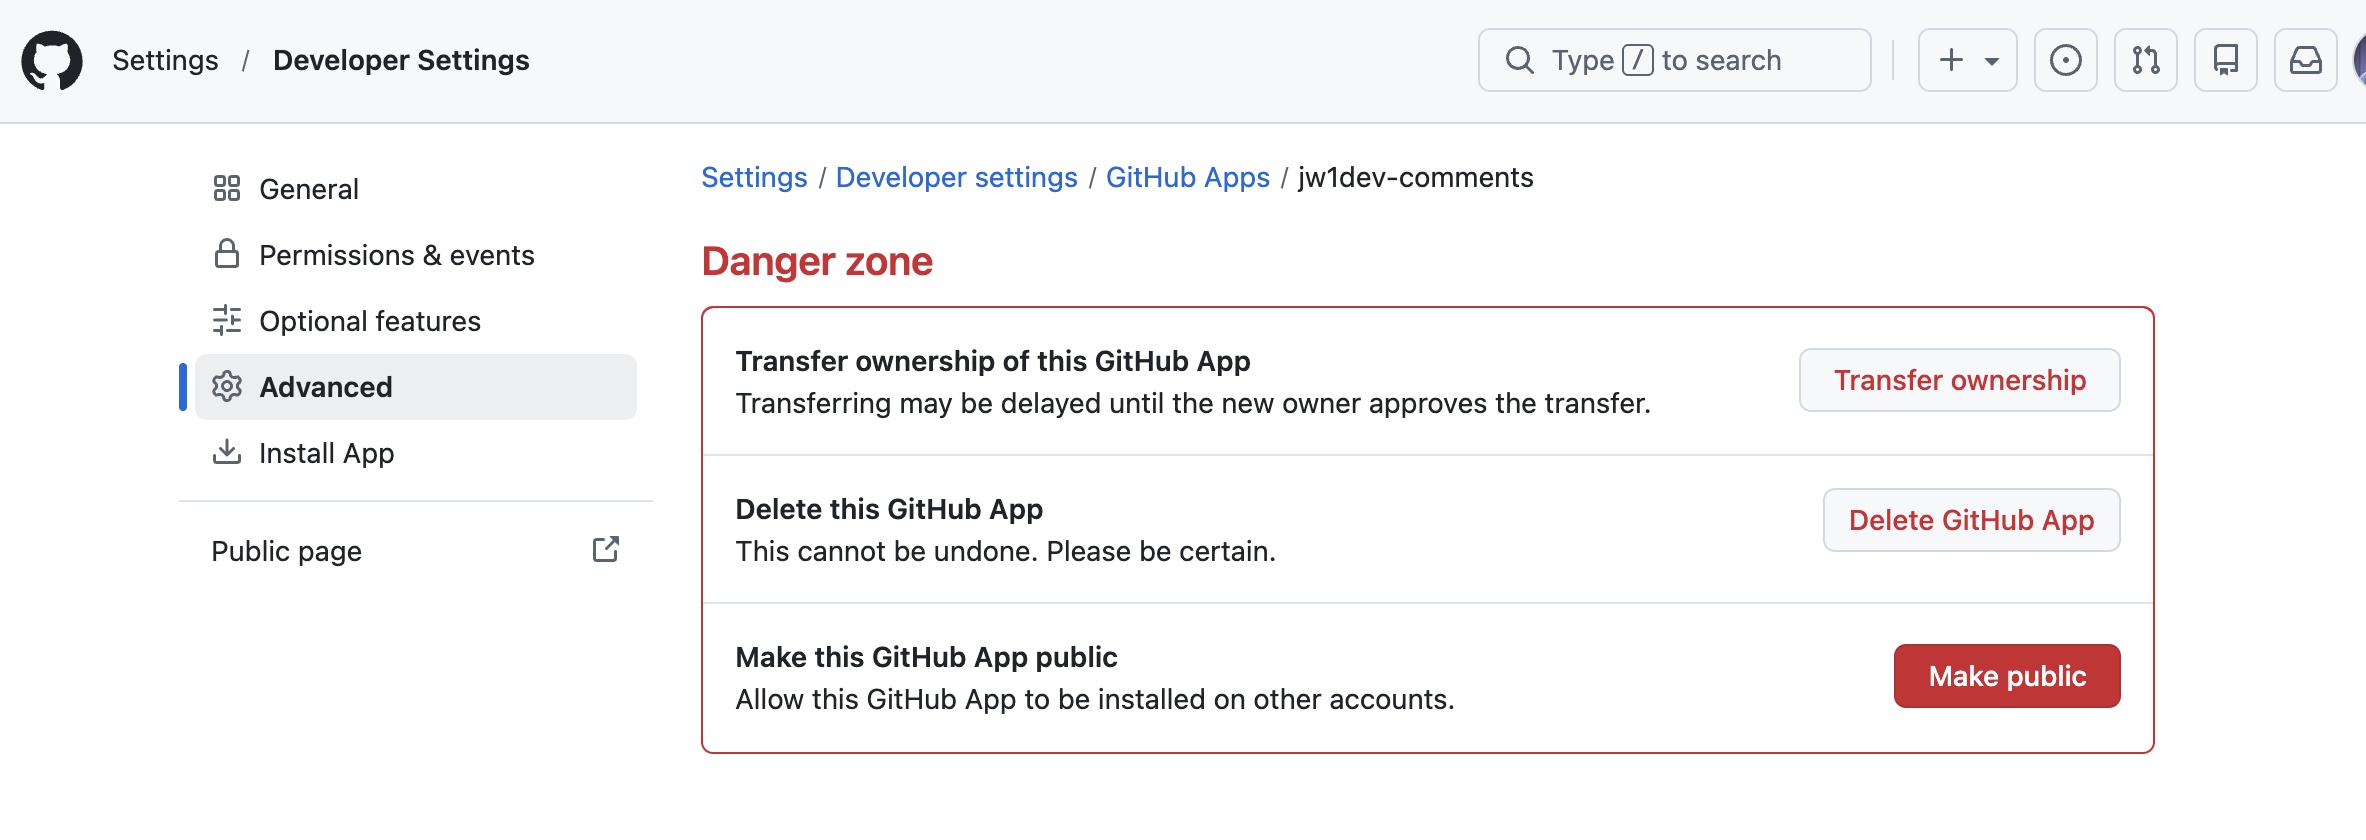
Note: GitHub has changed the behavior of private GitHub Apps — previously, private apps (set to “Only on this account”) could still be used for OAuth authorization by any GitHub user. Now, GitHub returns 404 for non-owner users trying to authorize through a private app’s OAuth flow. See community#163992 for more details. If you previously set this to “Only on this account”, please go to your GitHub App settings and make it public:
Okay, now click Create GitHub App, a new GitHub App should be created in your account now.
Private key
After the app is created, you will see this message:

Private keys are used to sign access tokens, this function is related to expire user tokens, and we just unchecked this option. So, all we need to do is to generate the private key and forget about it.
Install the app
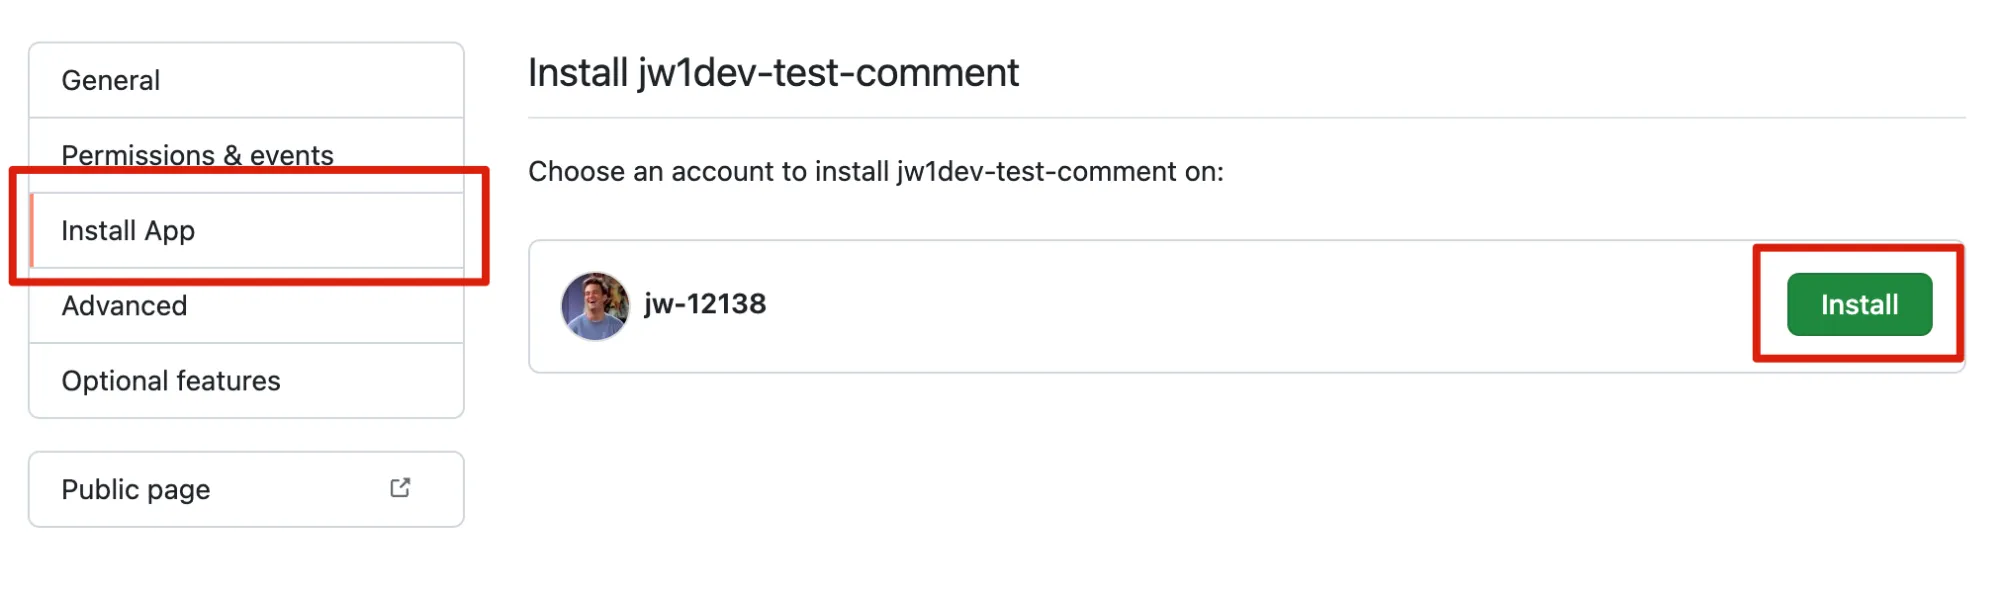
On the left side (bad design imo), choose Install App, and then click the Install button. You should be directed to the installation page.
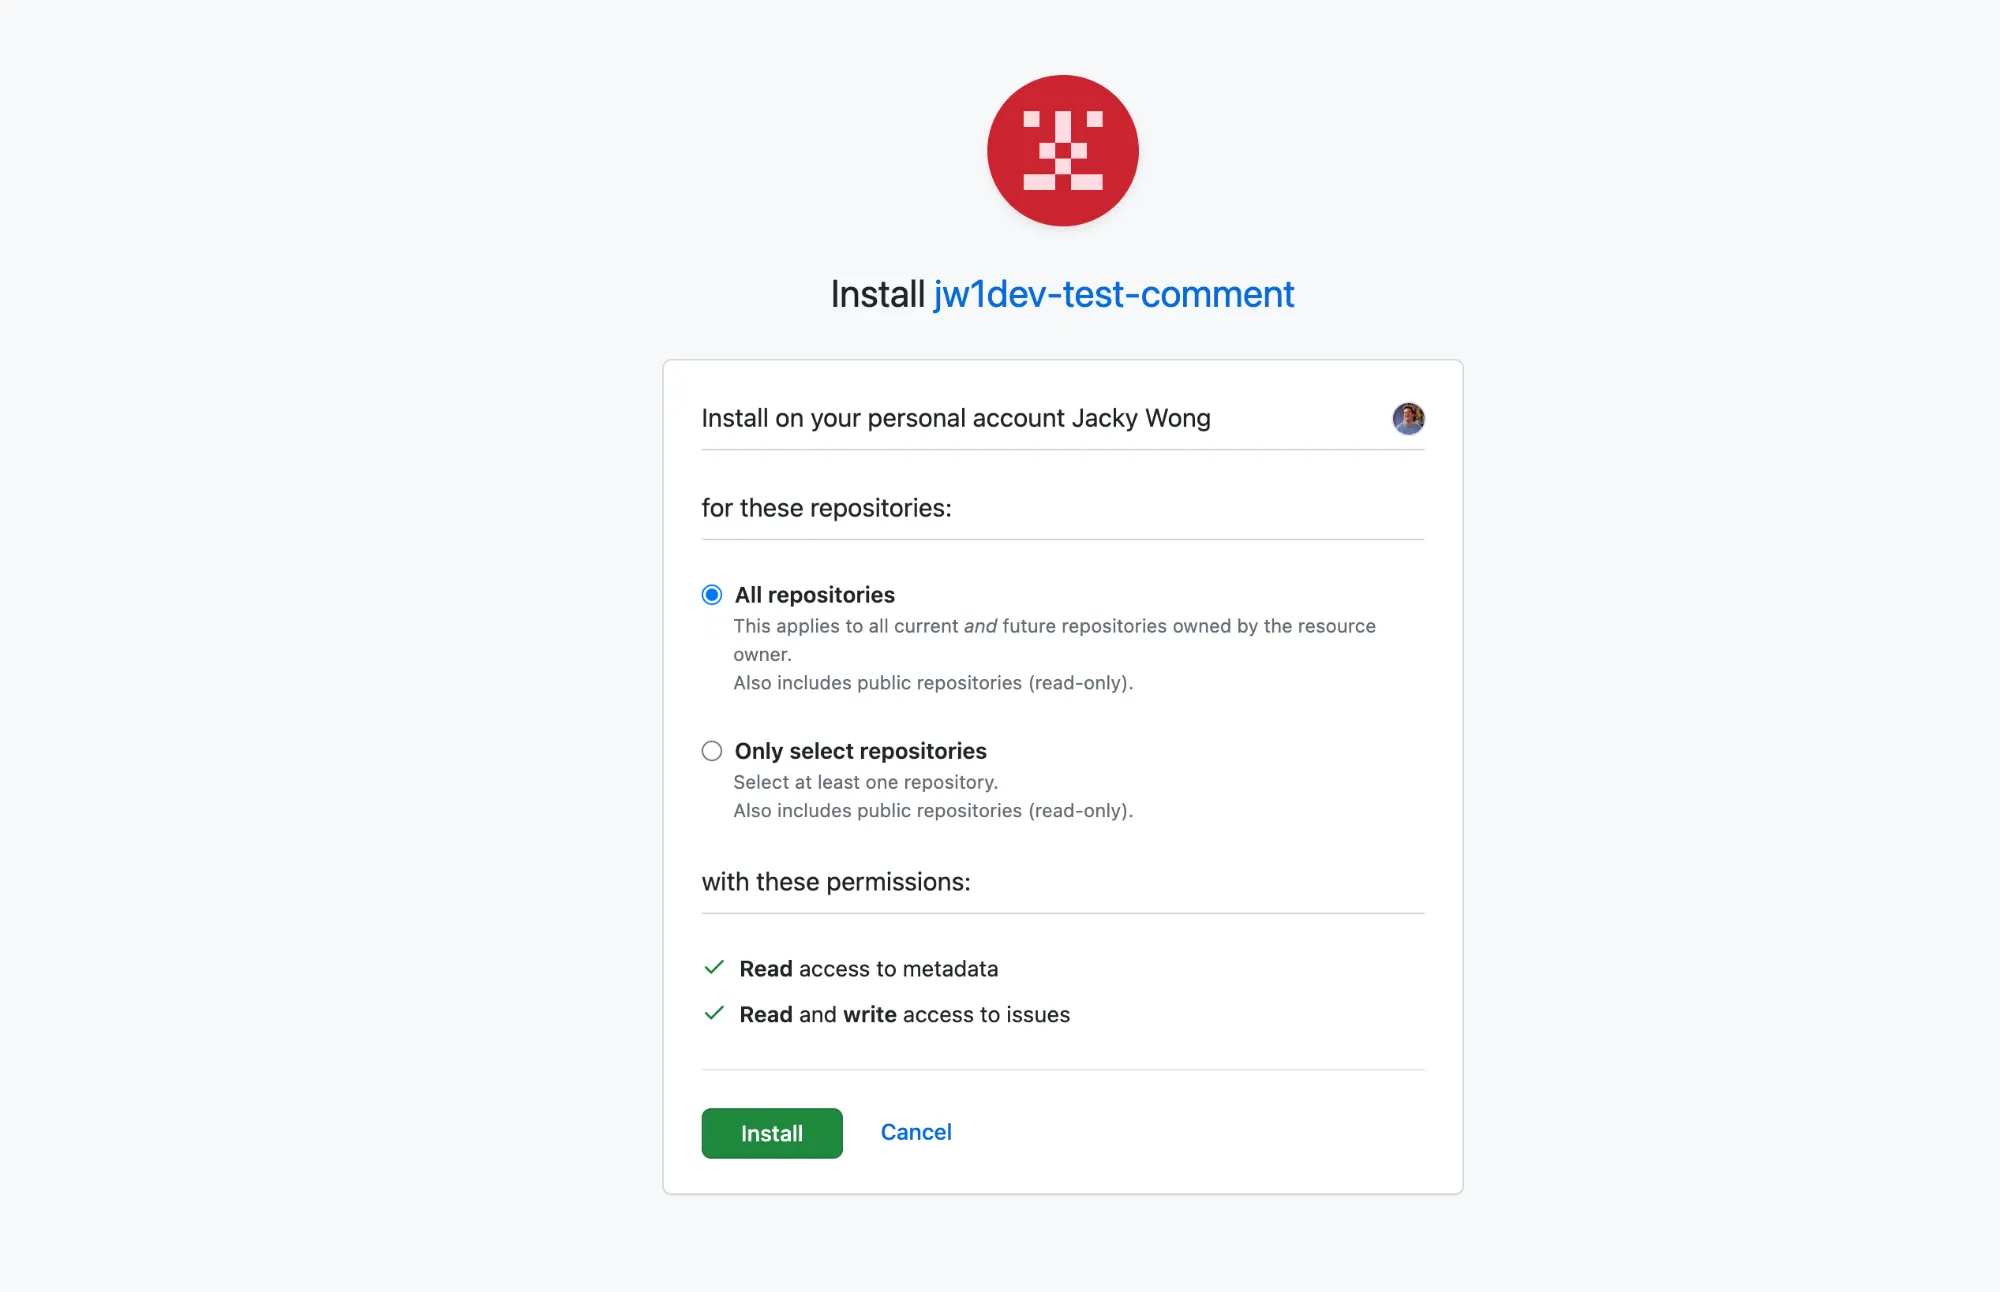
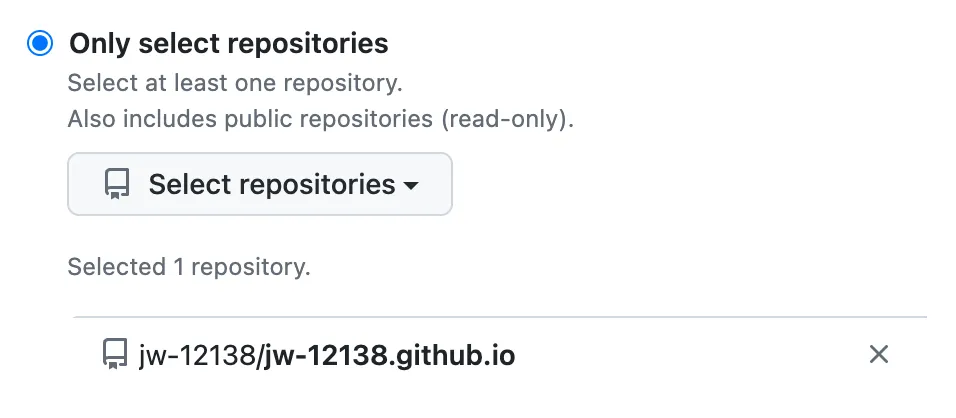
In this page, you can further configure permissions for your app, I’d recommend you to only select the repo that stores the issues for your blog.
Next step: Server side