Server side is fully built on Cloudflare Workers, so you don’t need to pay for the servers, the code is available on GitHub. It’s not required to have this step finished, but you might encounter some problems:
- Limited access to GitHub API when user is not logged in, meaning guests might get blocked when loading comments.
- The comment system will use GitHub’s markdown rendering API, which will further increase the request consumption within current hour.
- Privacy, Using my callback URL could make login attempts, GitHub callback codes, and user tokens visible to me. However, I respect your privacy and will not misuse this information.
For full control and enhanced privacy, I’d recommend to deploy your own Cloudflare Worker.
Prerequisites
- Cloudflare account
- Node.js (version >= 18.0)
- Bun (version >= 1.1) (optional)
Endpoints
* /proxy/:link{.*}, this endpoint is used to proxy requests to the GitHub API, and can achieve some level of cache.POST /markdown, this endpoint is used to render markdown content to HTML.GET /callback, this endpoint is used to receive messages from GitHub just like previously mentioned, when this worker is deployed, you can set the callback URL to this endpoint.
How to use
-
Clone the repository
# Fork is recommended for further updates and deployments git clone https://github.com/jw-12138/cwgi-api.git -
Install dependencies
# bun is blazing fast ⚡️ # but yes you can use npm, pnpm or yarn as you like bun install -
Edit
wrangler.toml# wrangler.toml name = "cwgi-api" main = "index.ts" compatibility_date = "2023-06-13" [vars] SITE_URL = "" ALLOWED_ORIGINS = ""SITE_URL, REQUIRED, the URL of your blog, otherwise the CORS policy will block the request from your blog.ALLOWED_ORIGINS, optional, the allowed origins for CORS, you can add as many origins as you want, separated by commas,, use*to allow all origins.
-
Deploy
bun run deploy -
Edit the environment secrets in the Cloudflare Workers dashboard
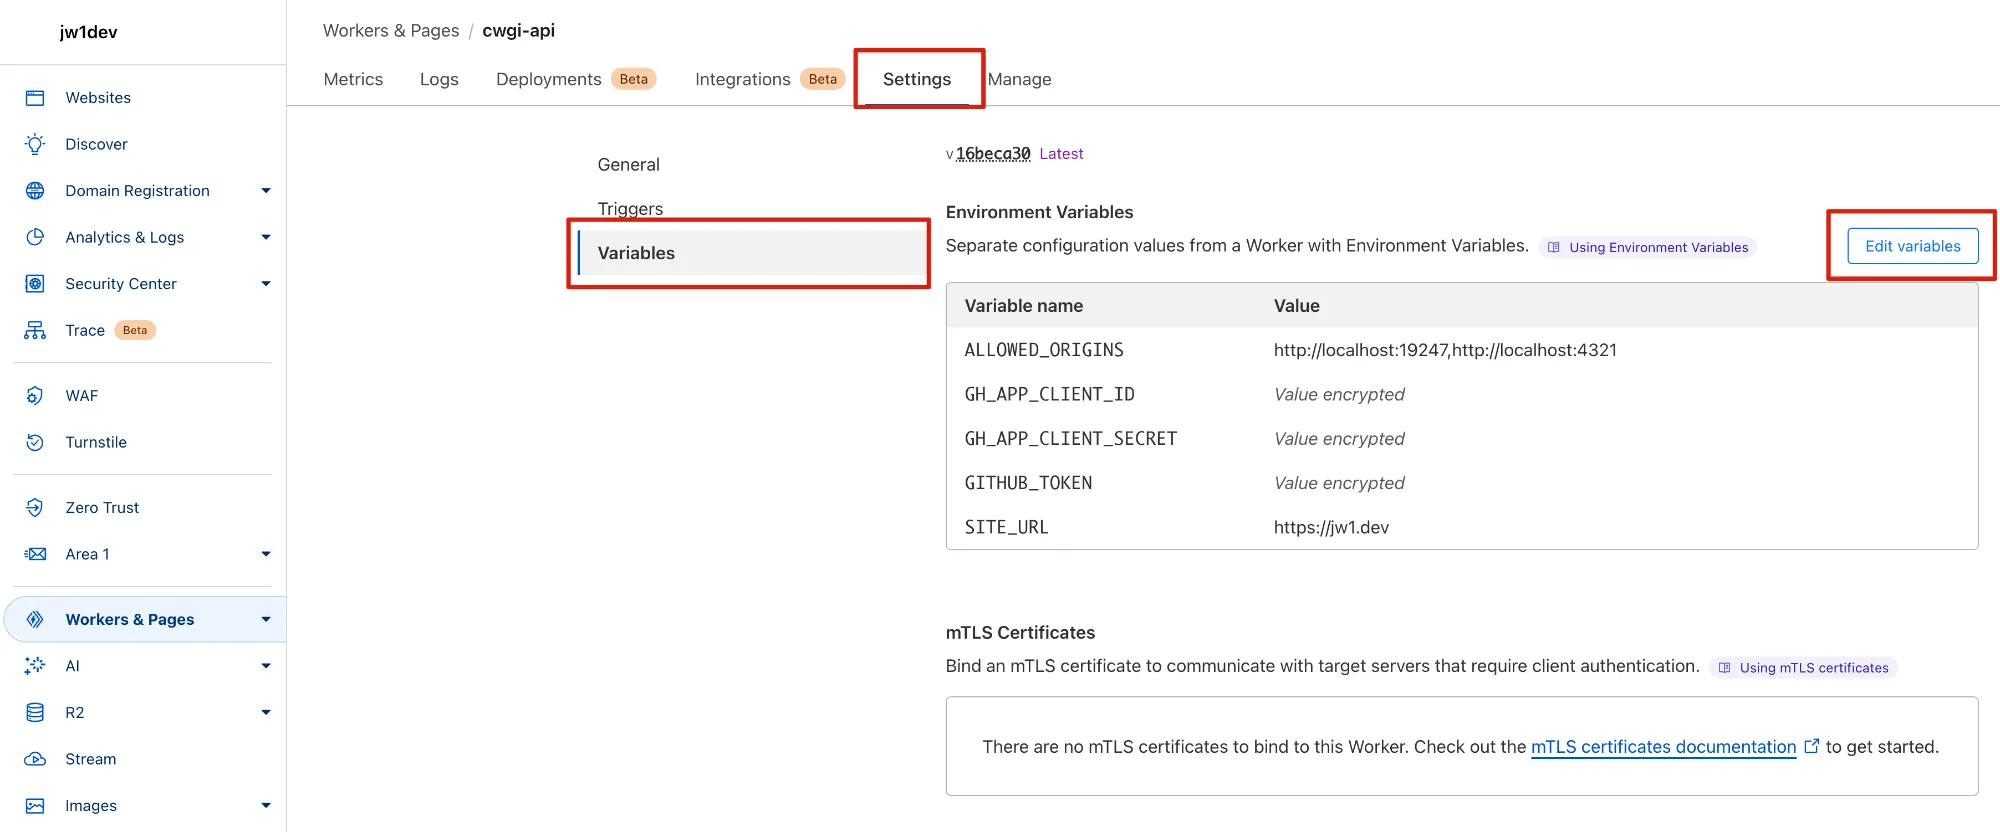
There are 3 secrets required, 1 secret optional:
GH_APP_ID, REQUIRED, the GitHub App ID.GH_APP_CLIENT_ID, REQUIRED, the GitHub App client ID.GH_APP_CLIENT_SECRET, REQUIRED, the GitHub App client secret.GITHUB_TOKEN, GitHub API has a 60 RPH(requests per hour) rate limit to unauthenticated requests, you can set this secret to a personal access token to increase the rate limit to 5000 RPH.
-
Re-deploy the worker
Now the worker should be up and running, you can set the callback URL to https://your-worker-name.workers.dev/callback.
Create a personal access token
Go to this page and create an access token, set the GITHUB_TOKEN to this token, this can increase the rate limit to 5000 RPH, thus, a better guest experience.
GitHub offers 2 options for personal access tokens: fine-grained and classic. Both are suitable and public repo permission is required to be used in this project.
Set up a custom domain
By default, the Worker URL should be working right away, unless you want the url to be a little bit clean or, you live in China (or maybe some other country). Unfortunately, the domain name workers.dev is blocked in China, so we need to set up a custom domain.
Go to your Worker page, click on the “Settings” -> “Triggers”, you’ll see a custom domain section, click on the “Add Custom Domain” button. Input the domain name, wait a few minutes and that’s it! Remember to also update the Callback URL in the GitHub App settings.
Next step: Client side